This blogpost has been written with Xcode 14.3.1.
What is a compilation condition?
An easy example for a compilation condition that probably a lot of developers might have seen before is DEBUG. Enclosed in the Compiler Directives #if and #endif, what this allows us to do is to run specific code only if we are running the project in Debug-Mode.
I recently ran into a situation where I wanted to use mock instances of my model types during development rather than loading stuff from persistence, but I did not want to loose the ability to also run previews or in the simulator using persistence.
What I found was that creating a custom compilation condition is what allows me to do exactly that, and this is what it took me to take advantage of it.
A simple example
A very basic example could be:
@main
struct MyApp: App {
    var body: some Scene {
        WindowGroup {
            Text("Hello, World!")
        }
    }
}
What, if I wanted to show something different conditionally? Well, as stated above, we already have DEBUG, so to take advantage of that, we could do this:
@main
struct MyApp: App {
    var body: some Scene {
        WindowGroup {
            #if DEBUG
            Text("I am debugging now…")
            #else
            Text("Hello, World!")
            #endif
        }
    }
}
That's awesome already, but as I said, I wanted to have yet another condition. Something, that allowed me to do this:
@main
struct MyApp: App {
    var body: some Scene {
        WindowGroup {
            #if DEBUG
            Text("I am debugging now…")
            #elseif DEVELOPMENT
            Text("I am developing now…")
            #else
            Text("Hello, World!")
            #endif
        }
    }
}
These examples are just to show the way how a compiler directive can be used and I purposefully want to keep them very simple and abstracted from my specific use case.
So, we now know what we need–we need a custom compilation condition called DEVELOPMENT–so let's introduce it into our project.
Adding a custom compilation condition to the project
To add the custom compilation condition to the project, we…
- go to the project's top level in the navigation panel
- select the project (not the target)
- make sure that the "Info" tab is selected
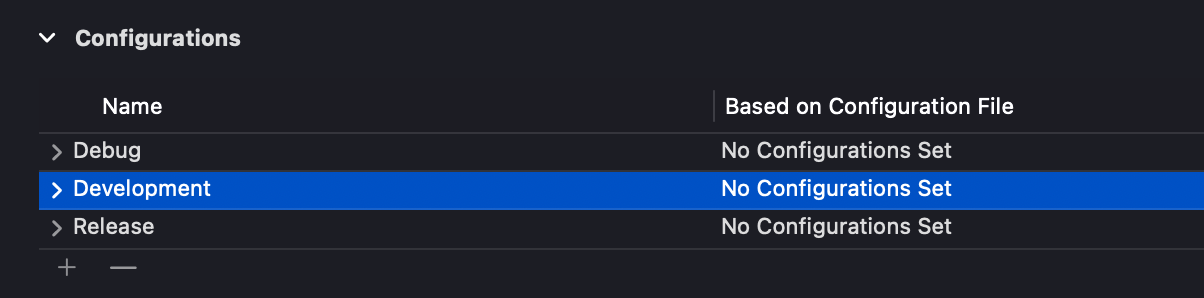
- click the the "+" sign in the "Configurations" section at the top beneath the two already existing entries "Debug" and "Release"

This opens up a small drop down menu, enabling you to duplicate one of the already existing ones.
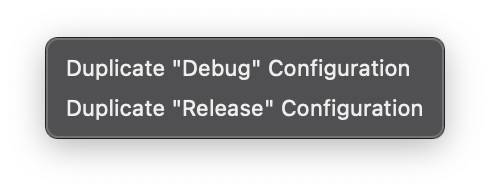
Duplicating the "Debug" configuration adds another entry, which we name "Development" in this case
Adding a custom flag to the new condition
We need to add the keyword DEVELOPMENT that we want to use in our compiler directive. The following steps need to be done to add this custom flag for the new condition "Development":
With the project still selected,
- switch to the "Build Settings" tab
- fill in "custom" in the filter/search bar
- note the entry "Development", which is there because we have just added it in the previous section
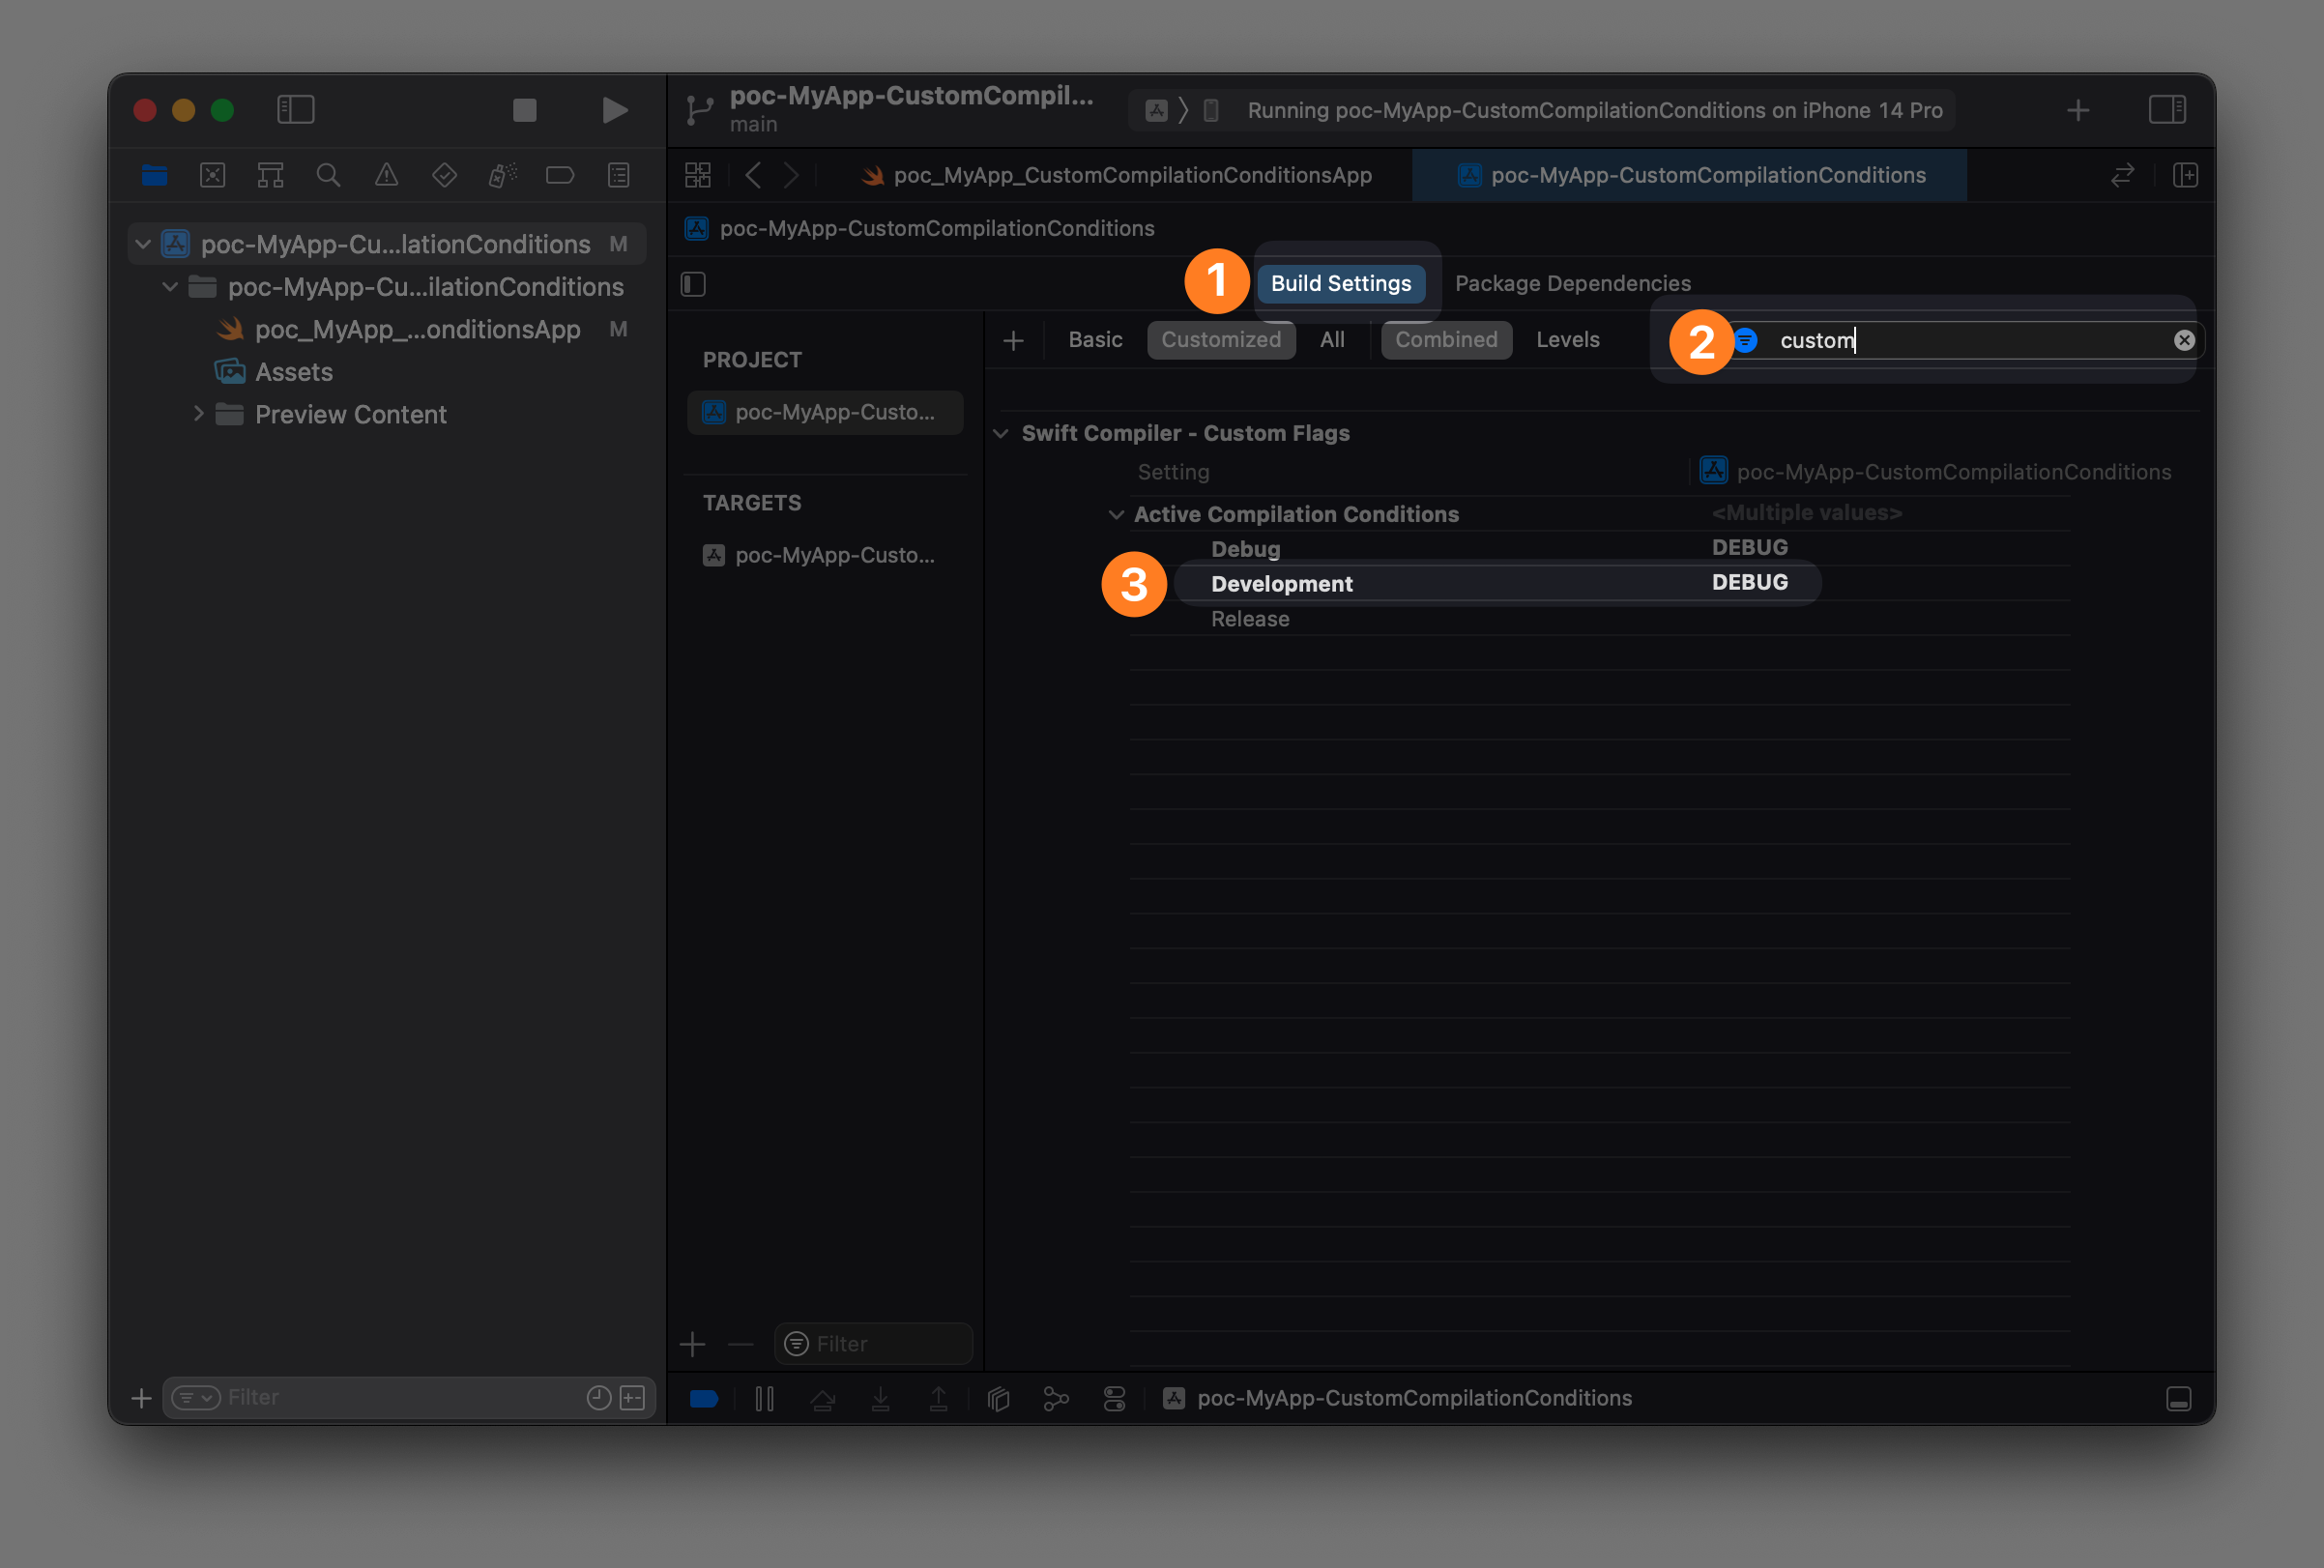
Also note that since we chose to copy the "Debug" condition, the flag "DEBUG" has also been set. This is what we will have to change to DEVELOPMENT by selecting it and changing the value in the popup. As I said, this is exactly the term we want to be using in code. Those flags for compiler conditions are upper case by convention, so I strongly suggest sticking to that.
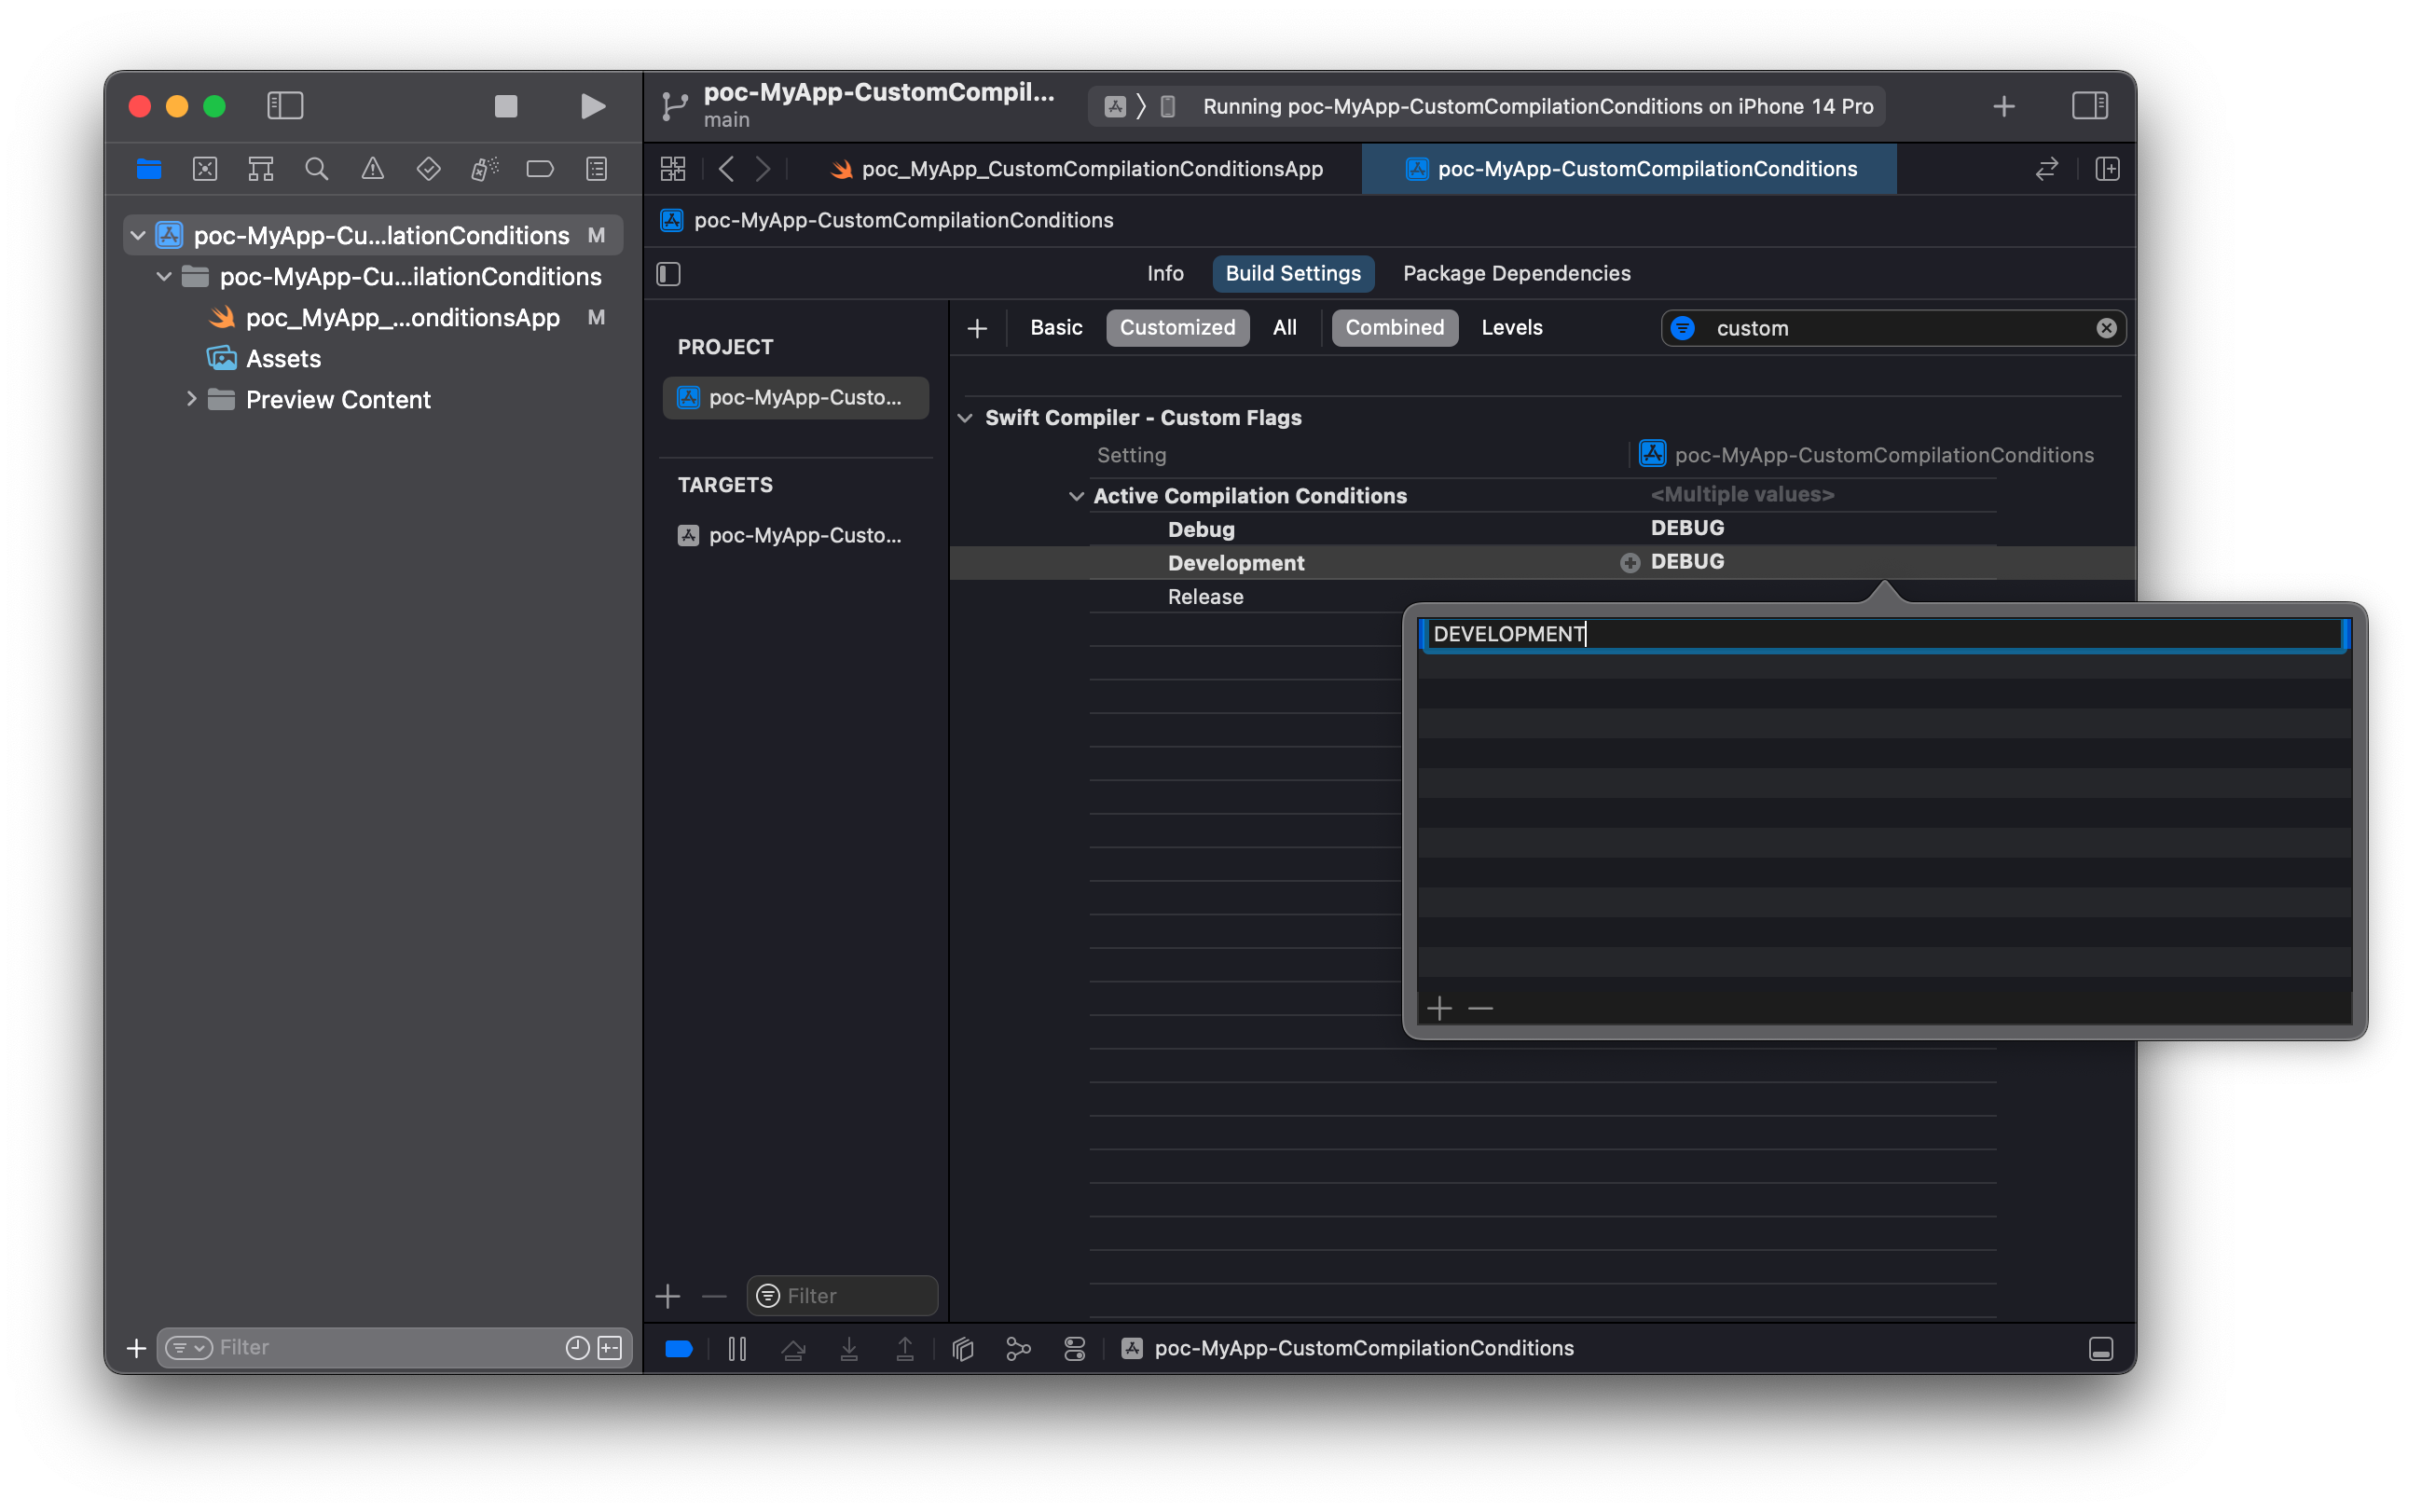 The result of these actions should look like this:

Using the new condition
The last step is to now use this new condition in our scheme. To get there, select
- Product (in the menu)
- Scheme
- Edit Scheme
Alternatively, you can also use the (standard) shortcut "Cmd"+"<" or get to the "Edit Scheme" (2.) command via the Scheme entry at the top of the Xcode window (1.).
 In the now open dialog…
- select "Run"
- select the "Info" tab
- click on the "Build Configuration" drop down menu
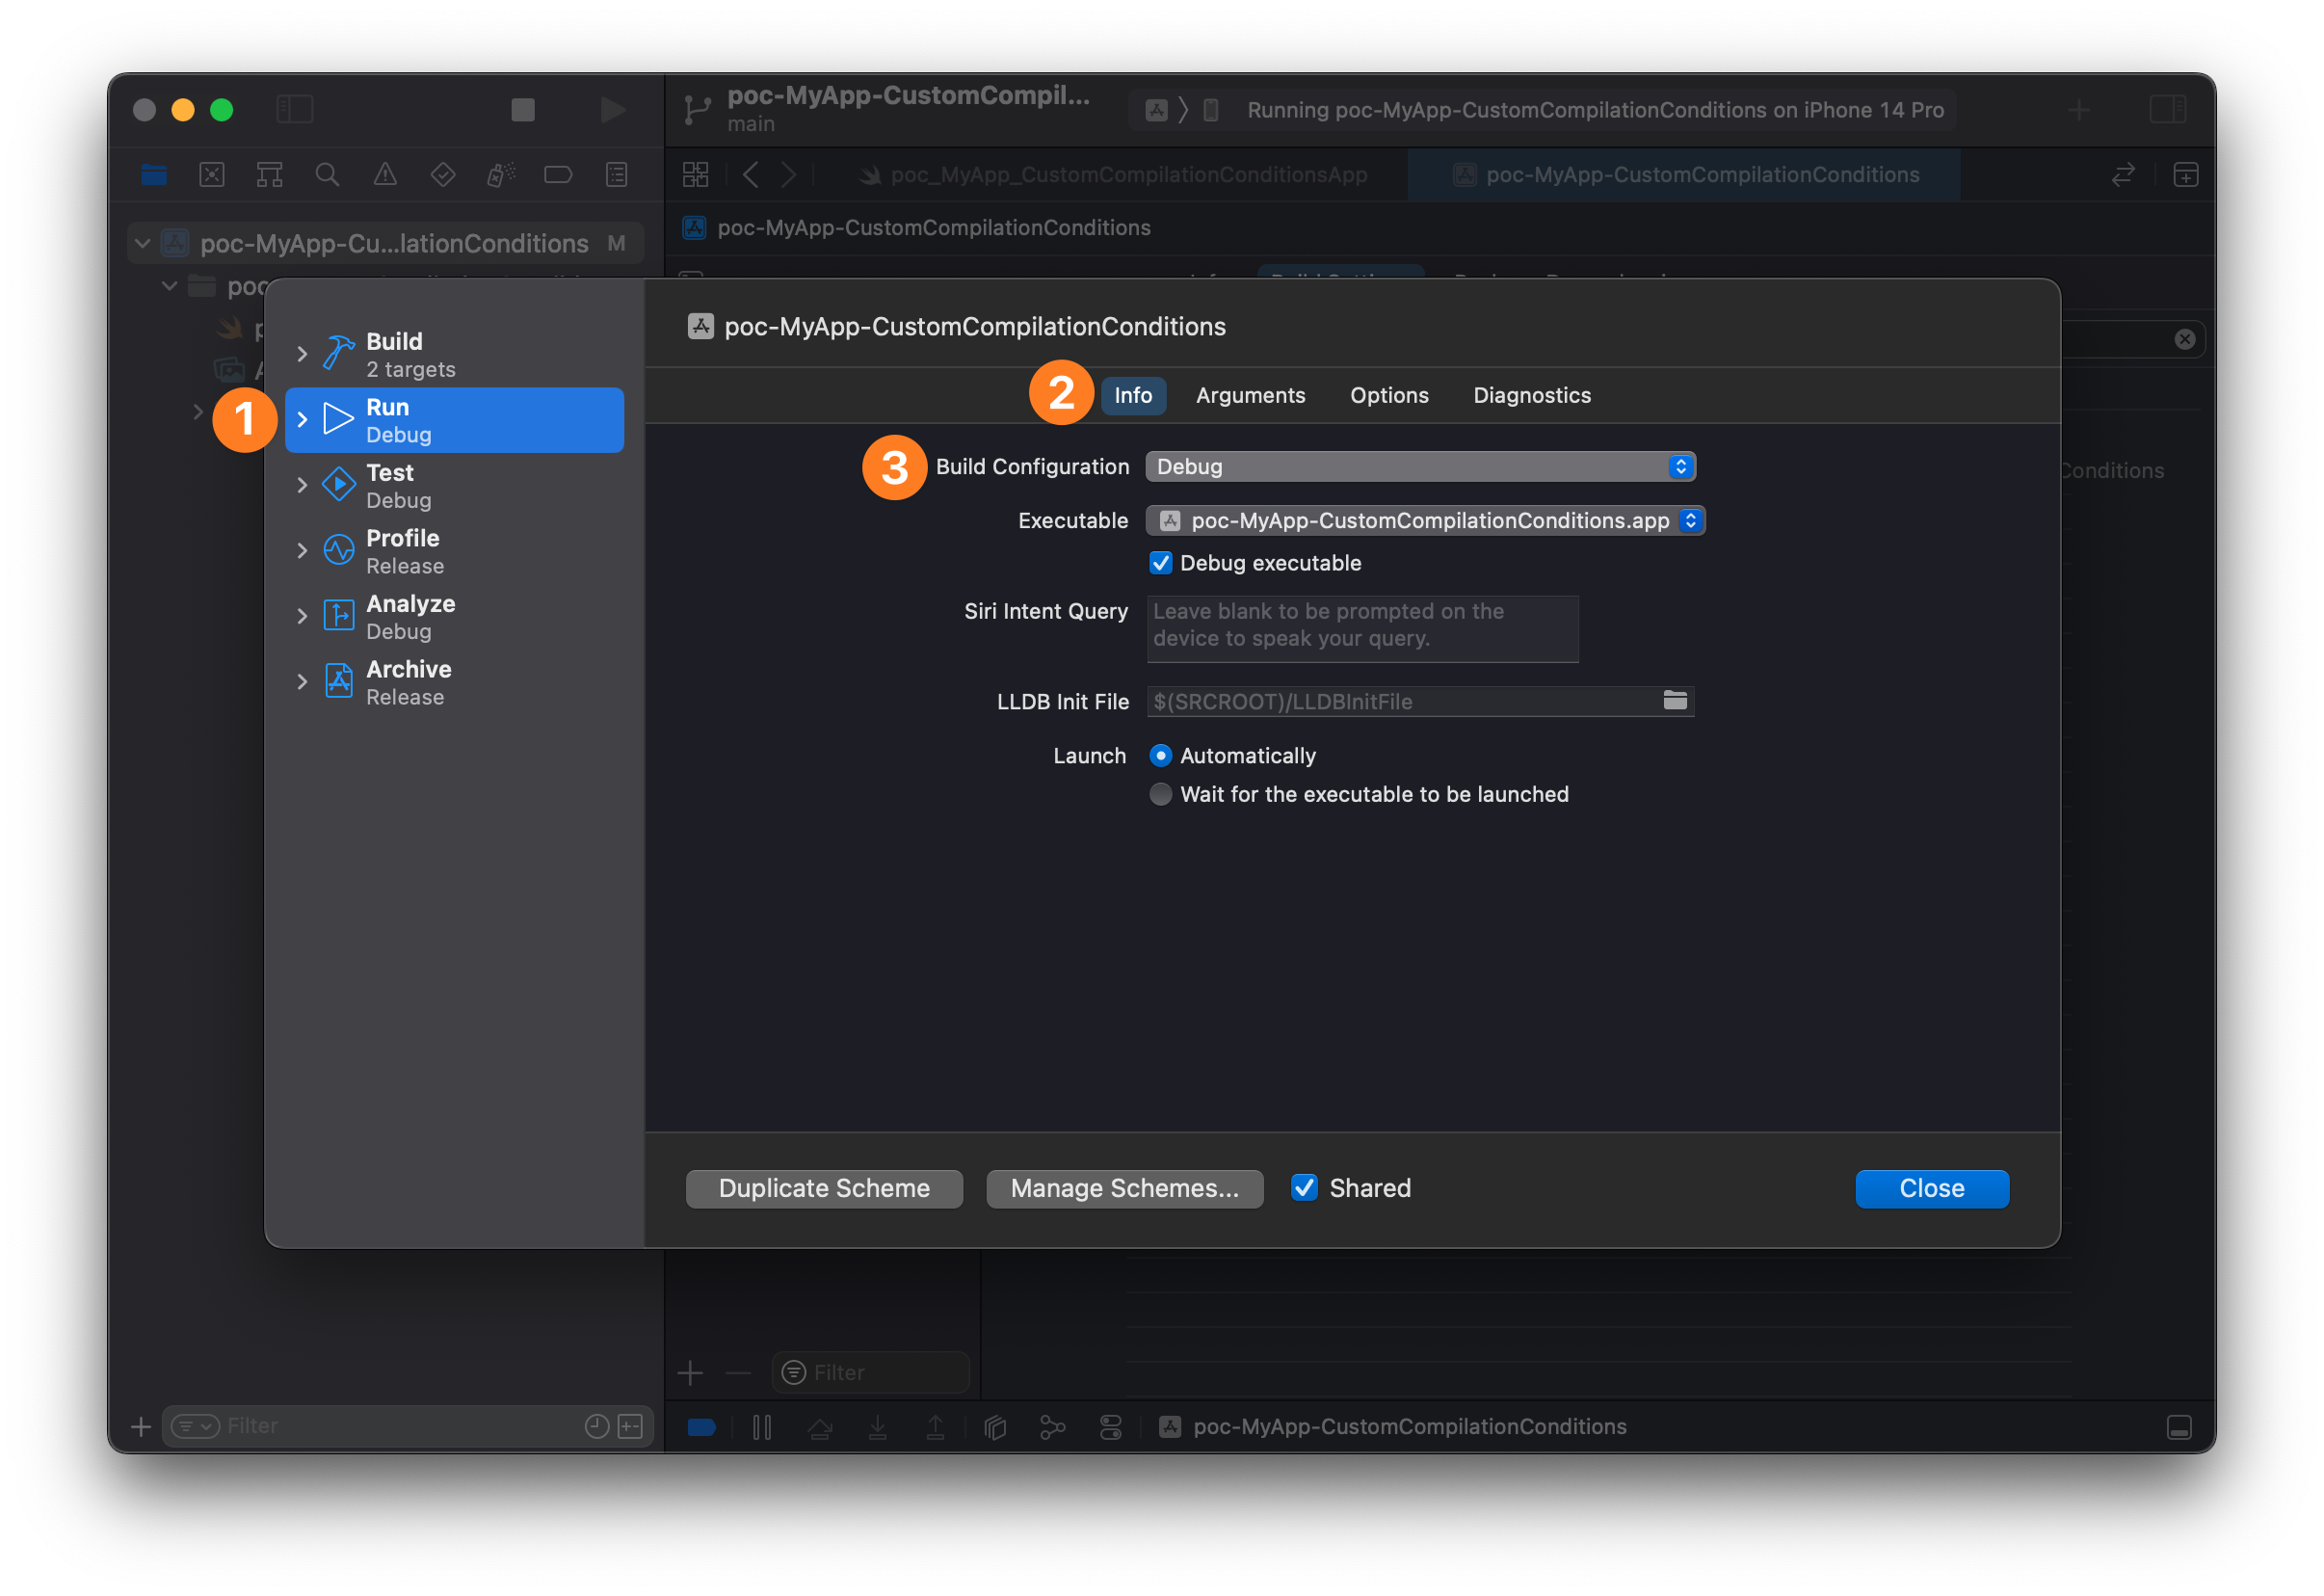
From the drop down menu, select "Development".
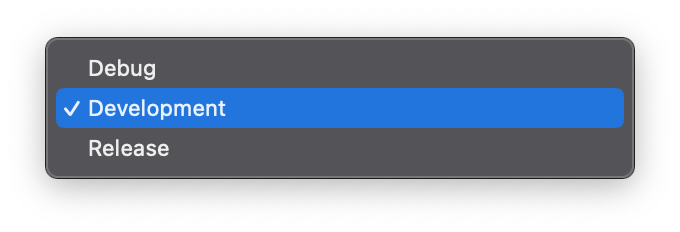
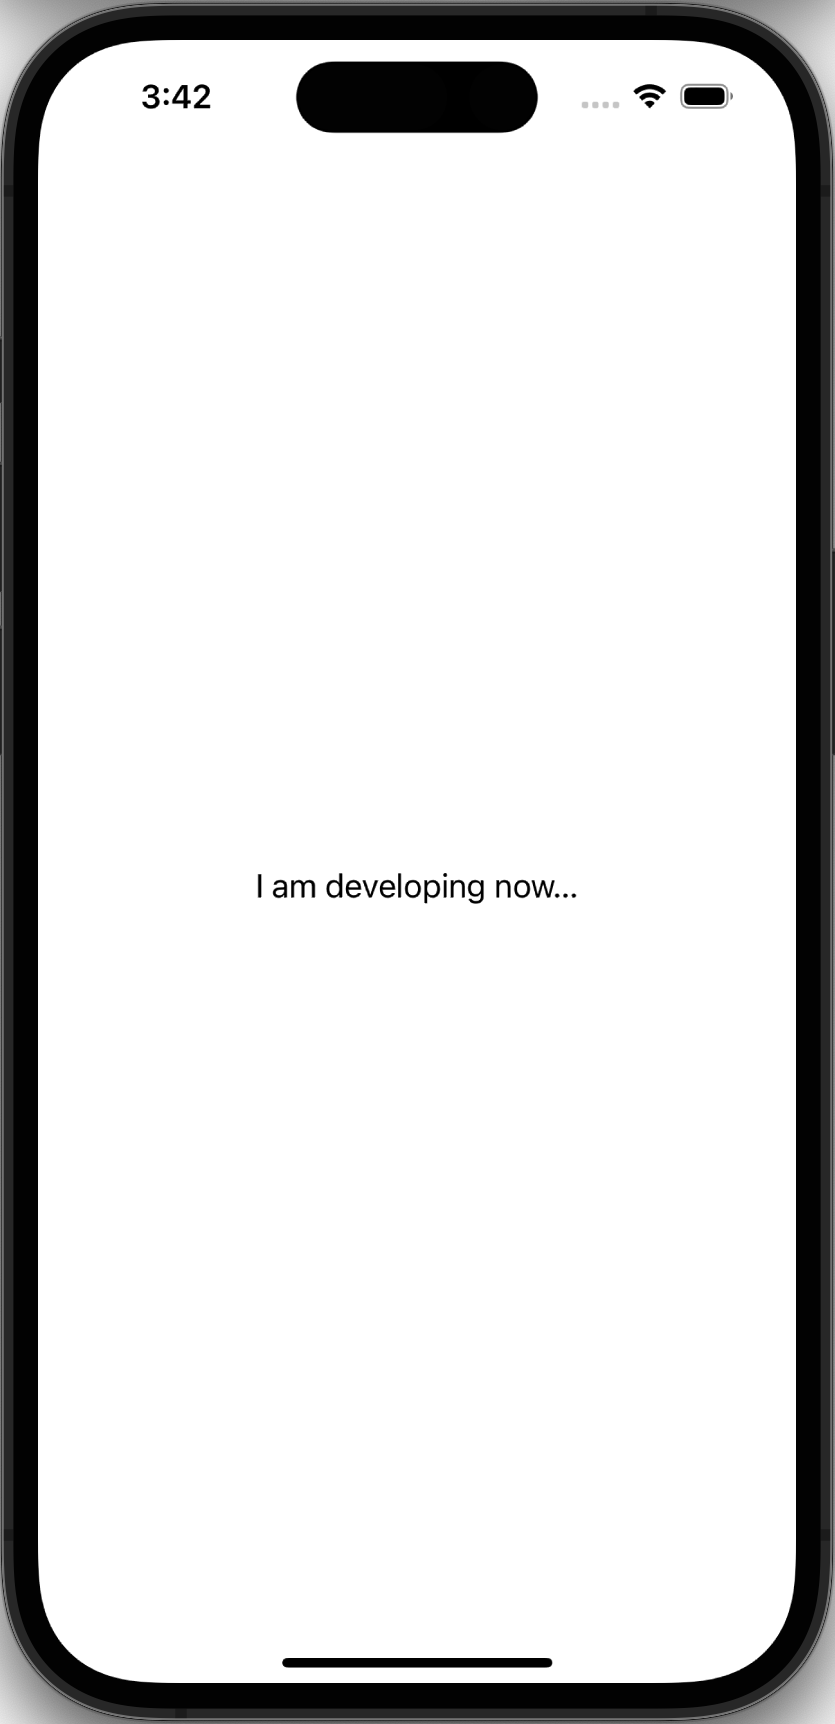
…et voilà
If we now build and run the app with "Cmd"+"R", we are greeted with "I am developing now…" 🎉
Conclusion
In this blogpost, we took a look at what it takes to add a custom compilation condition to a project, that can be used with the #if or #elseif compiler directive to conditionally run different code from the regular "Debug" or "Release" code.